Websites are not used by all visitors as the creators intended. All kinds of website users depend on external soft- and hardware to understand a website. Well known examples are the Braille display, which translates text into Braille, and screen readers that read out text.
However, there are also simple solutions for accessible websites, which you as a web designer can apply yourself. Like the solutions in WCAG success criterion 1.4.12. Below you can read why this criterion exists and how you can test if your website meets this criterion.
What is success criterion 1.4.12
Criterion 1.4.12 refers to the extent to which website users can customise text properties. Examples of text properties are: the spacing between paragraphs, the spacing between lines, between words and between letters. The WCAG specifies minimum spacing requirements, as explained below.
Some users change the text spacing to a value that helps them read. For people with dyslexia and low vision, more space between these textual elements can make reading easier. By allowing users to adjust the text spacing, you offer a better reading experience.
Meeting success criterion 1.4.12
The creators of the WCAG added this success criterion 1.4.12 to the AA guidelines with the WCAG 2.1 update. A digitally accessible website therefore complies with 1.4.12. But how do you make sure your website complies?
To comply with success criterion 1.4.12, you need to let users adjust the following things:
- The line height to at least 1.5 times the font size
- The spacing between paragraphs to at least 2 times the font size
- The letter spacing to at least 0.12 times the font size
- The spacing of words to at least 0.16 times the font size
Testing WCAG Success Criterion 1.4.12
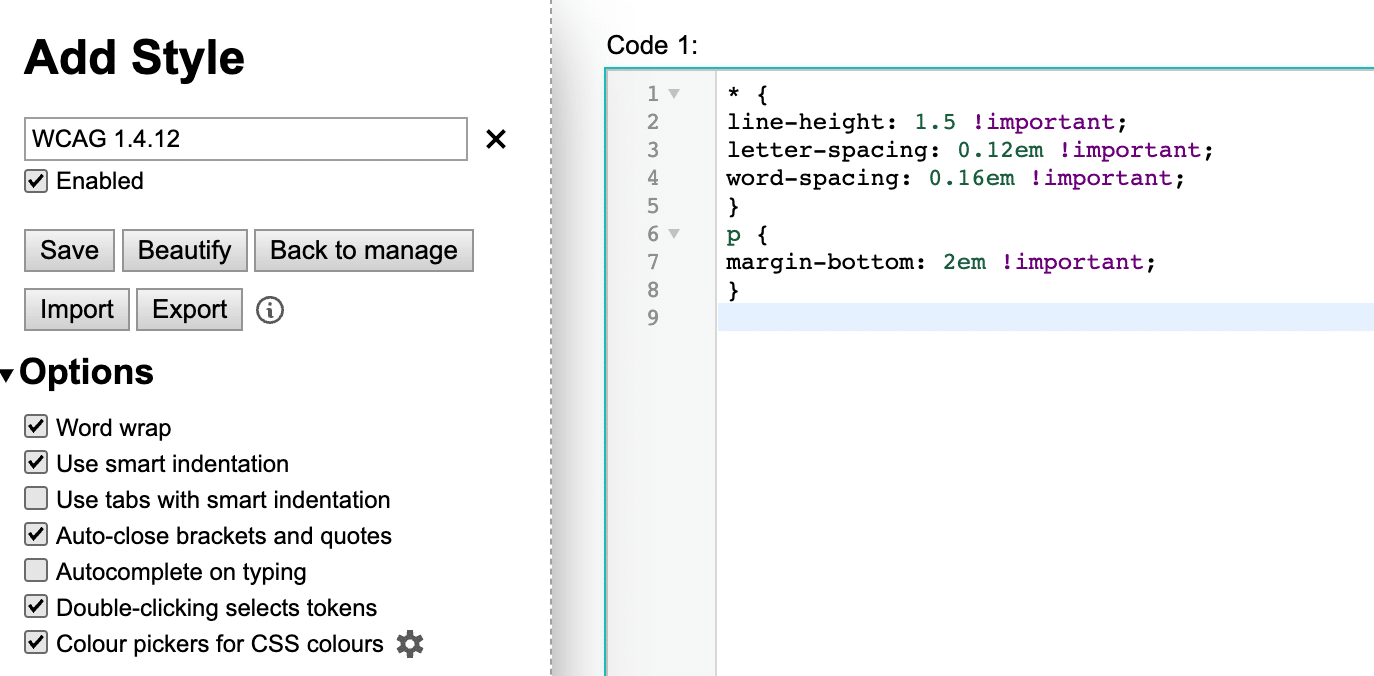
The only way to test whether a website is WCAG 1.4.12 compliant is to subject it to the above minimal modifications. For example, you can use the following CSS source code:
* {
line-height: 1.5 !important;
letter-spacing: 0.12em !important;
word-spacing: 0.16em !important;
}
p {
margin-bottom: 2em !important;
}
During an accessibility test, you don’t check one page, but several predetermined pages. You will need to manually overwrite the CSS code each time. A convenient way to do this is through the Stylus browser plug-in.

You can now easily apply the settings using the Stylus plug-in. With the new settings, check that the pages can be used without losing content or functionality.
The images below show the difference between the introduction of a blog on Digital Accessibility with and without the use of the Stylus plug-in to test WCAG 1.4.12. Can you imagine the difference that makes?


